Dealing with a flat tire on the road can feel overwhelming, but IT DOESN’T HAVE TO BE. This straightforward guide will help you handle it with ease.
In less than 30 minutes, you'll be back on the road!
STEP 1: GATHER YOUR TOOLS
What you'll need:
Jack (usually stored with the spare tire)
Lug wrench
Spare tire
Warning triangle
Gloves (optional, but recommended)
GOLDEN TIP: Locate these tools in your car BEFORE you need them! They're typically in the trunk, under the carpet.
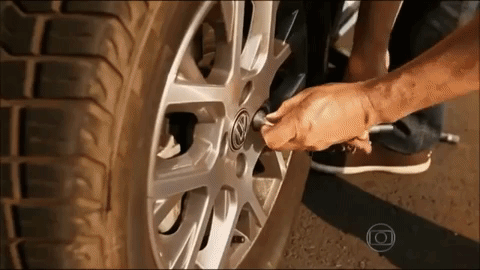
STEP 2: LOOSEN THE LUG NUTS
Remove the hubcap (if there is one)
Use the lug wrench and turn COUNTERCLOCKWISE
Apply force, but don’t completely remove the nuts yet
Just loosen them with 1 or 2 turns
EXPERT TRICK: If the nuts are too tight, use your weight! Position the wrench and carefully press down with your foot.
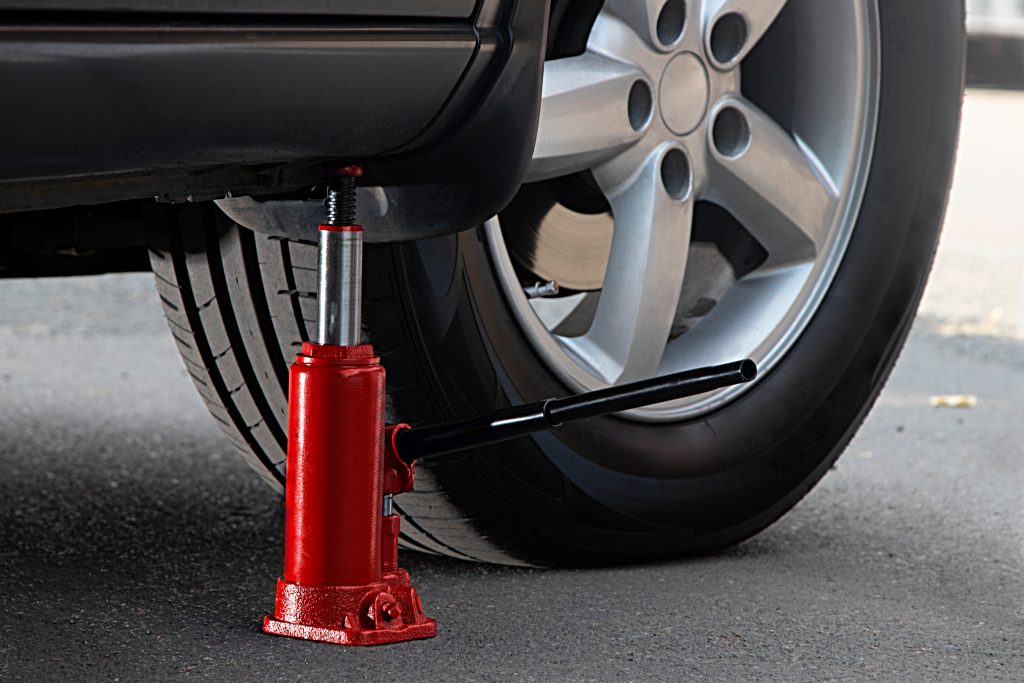
STEP 3: POSITION THE JACK CORRECTLY
Incorrect positioning can damage your car or cause accidents!
Locate the jack point (check your owner’s manual)
It’s usually a notch or protrusion near each wheel
Position the jack directly under this point
Make sure the jack is in firm contact with both the ground and the lifting point
IMPORTANT WARNING:NEVER place any part of your body under the car while it's supported only by the jack!
STEP 4: LIFT THE CAR
Turn the jack mechanism to raise the car
Continue until the wheel with the flat tire is completely off the ground (about 6 inches)
The movement should be smooth and stable
SAFETY TIP: If you feel the car is unstable, lower it immediately and reposition the jack.
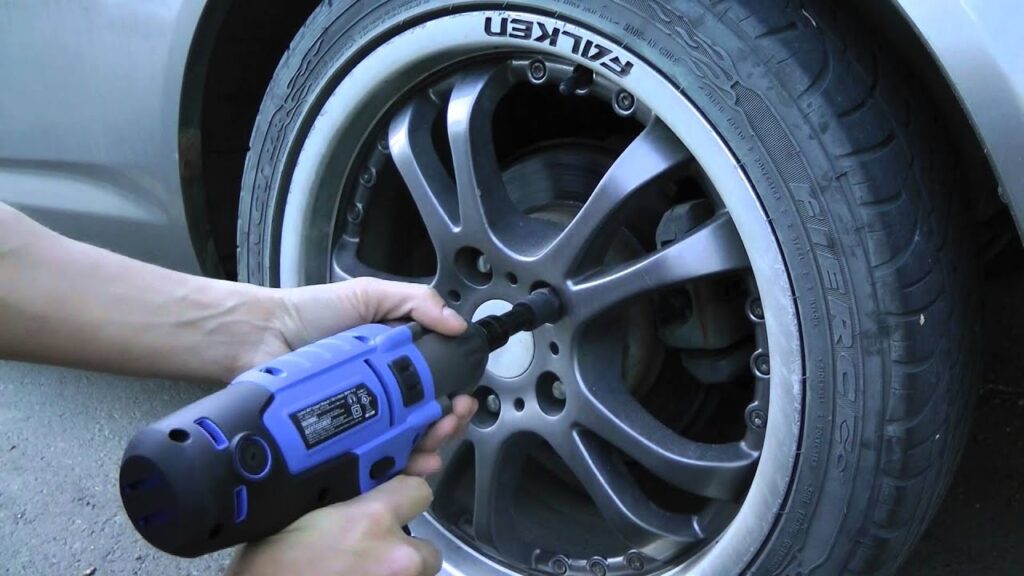
STEP 5: REMOVE THE NUTS AND THE WHEEL
Finish unscrewing the nuts by hand
Store the nuts in a safe place (inside the hubcap is a good spot) completely off the ground (about 6 inches)
Hold the wheel with both hands and pull it toward you
Remove the wheel completely and place it flat on the ground
REMEMBER:The wheel may be heavier than it looks! Use both hands and maintain proper posture to avoid back injuries.
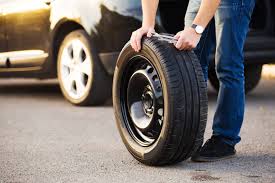
STEP 6: INSTALL THE SPARE TIRE
Jack (typically found with the spare tire) Lug wrench Spare tire Warning triangle Gloves (optional, but useful)
PROFESSIONAL TIP Align one of the holes and place one nut first to help align the remaining holes.
STEP 7: LOWER THE CAR AND FINALIZE
Slowly lower the car with the jack until the tire touches the ground
Remove the jack completely
Use the lug wrench to FIRMLY tighten the nuts
Tighten in a star pattern (not in a circular sequence)
Replace the hubcap (if there is one)
FINAL SECRET: The star pattern for tightening the nuts ensures the wheel is perfectly aligned. For example, tighten one nut, then the opposite one, and so on.
DONE! YOU DID IT!
That wasn't so difficult, was it? Now you have a valuable skill that can save you in critical moments!
REMEMBER:
The spare tire usually has a speed limit (50 mph in most cases)
Drive to a tire shop as soon as possible to repair the flat tire